

Today we’re going to be teaching our school community how they can add their own blog posts to their website.
- Login to your website.
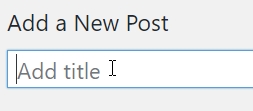
(if you don’t have a username, contact EWS to request for a login and your credentials) - Go to Posts > ‘Add New’ to create a new post.

- Give the post a ‘title’. Use words that are contextual and meaningful to make it more searchable.

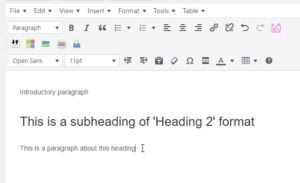
- Start writing your content for your post.
You can edit your content similarly to Microsoft word (make text bold, format your text with headers, etc.)

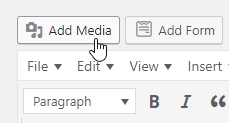
- Add an image (optional) by clicking ‘Add media’.

- Add an excerpt (a short summary of the post). This is optional and when set, will be used as a blurb for the post. If no excerpt is set, the first few sentences of the post will be used as automatically as the default for the blurb.

- Give the post a ‘Category’ by checking the box, or ‘Add new category’.

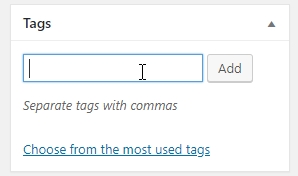
- Add ‘Tags’ to the blog to increase your post’s visability and searchability.

Here’s a link that provides more information about Categories and Tags:
https://www.wpbeginner.com/beginners-guide/categories-vs-tags-seo-best-practices-which-one-is-better/ - Add a featured image (this will be used as the post’s thumbnail) by clicking ‘Set featured image’.

- Once everything is ready, ‘Publish’ your post.
(Note: if back dating a post, you can edit ‘Publish immediately’ to a previous date, or set a future date to schedule the post)


And that’s it, your blog post is now live!
To help gain traffic to your post, share it via your social media channels.
If you have any questions about editing your post, contact the team at admin@eduweb.solutions